Tubes are essential semi-finished products in many industries due to their versatility and mechanical properties. They are used in the aerospace sector for fuselage and landing gear structures, hydraulic and pneumatic circuits, fuel lines, and so on. In the automotive industry, tubes are used for axles, suspension components, drive shafts, and fuel, brake, cooling lines, and so on.
In the oil and gas industry, pipelines transport oil and gas, while tubes are found in heat exchangers, drilling pipes, and so on. In the nuclear sector, tubes are used in heat exchangers, cooling and steam circuits, thermal power plants, and so on. They are also present in the medical field for more precise applications such as stents, prosthetics, syringes and so on.
Tubes come in various shapes and are made from different materials such as steel, aluminum, copper, or specific alloys. Their production involves several stages, including rolling, extrusion, or welding, followed by heat treatments and quality control inspections.
Thanks to CMS systems developed with the latest cutting-edge technologies, it is possible to ensure precise and reliable inspection of all types of tubes, whether ferromagnetic or non-magnetic, using Eddy Current and Ultrasonic technologies. These inspections ensure their compliance with industrial standards and their reliability in service.
Installed on-line or off-line, our specially designed systems can detect a wide range of defects arising during the various manufacturing processes:
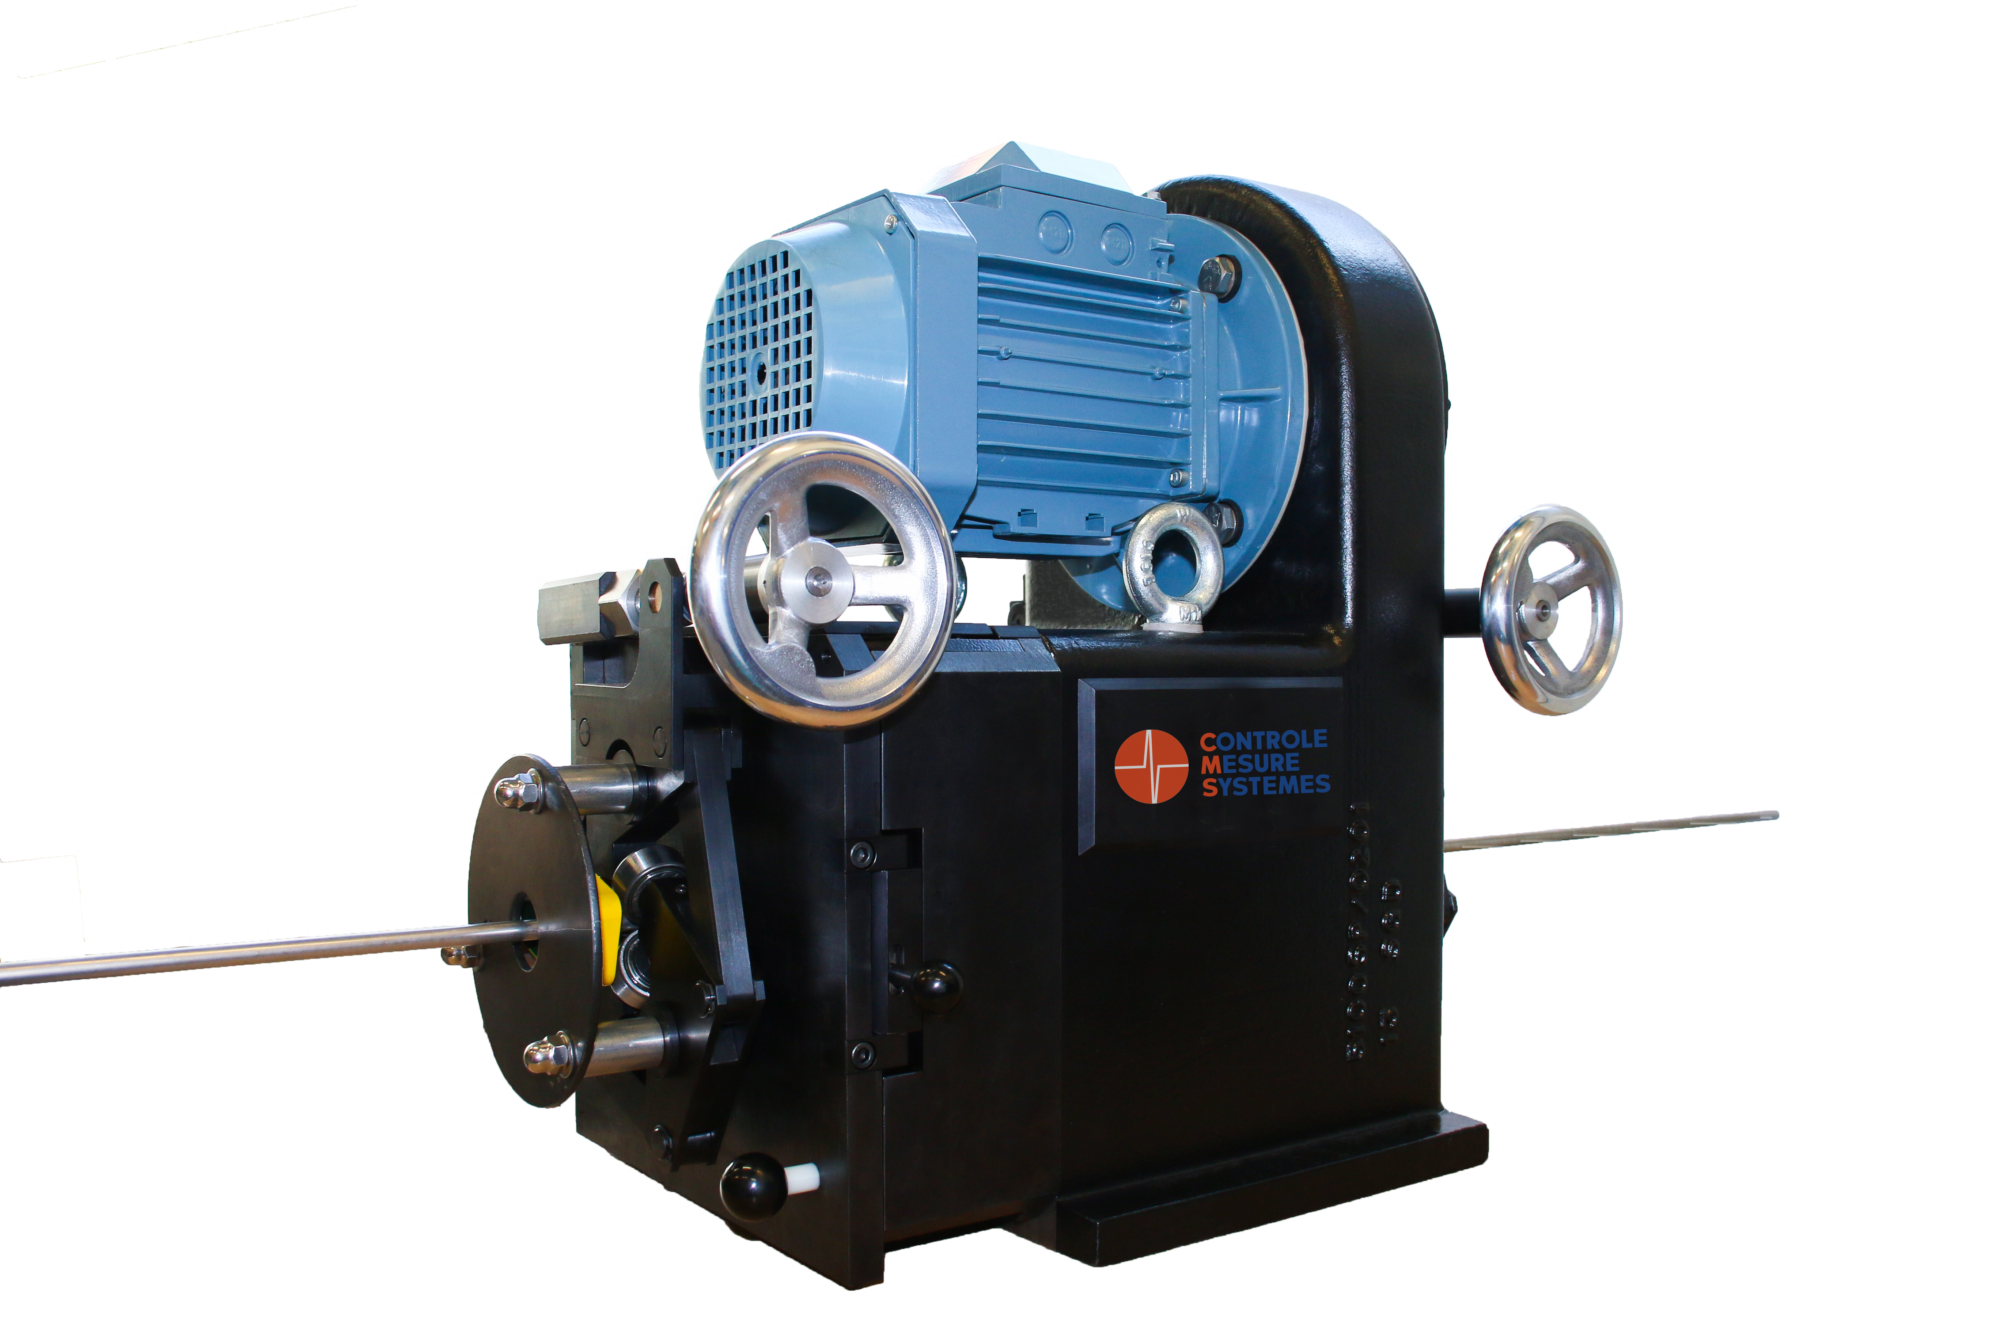
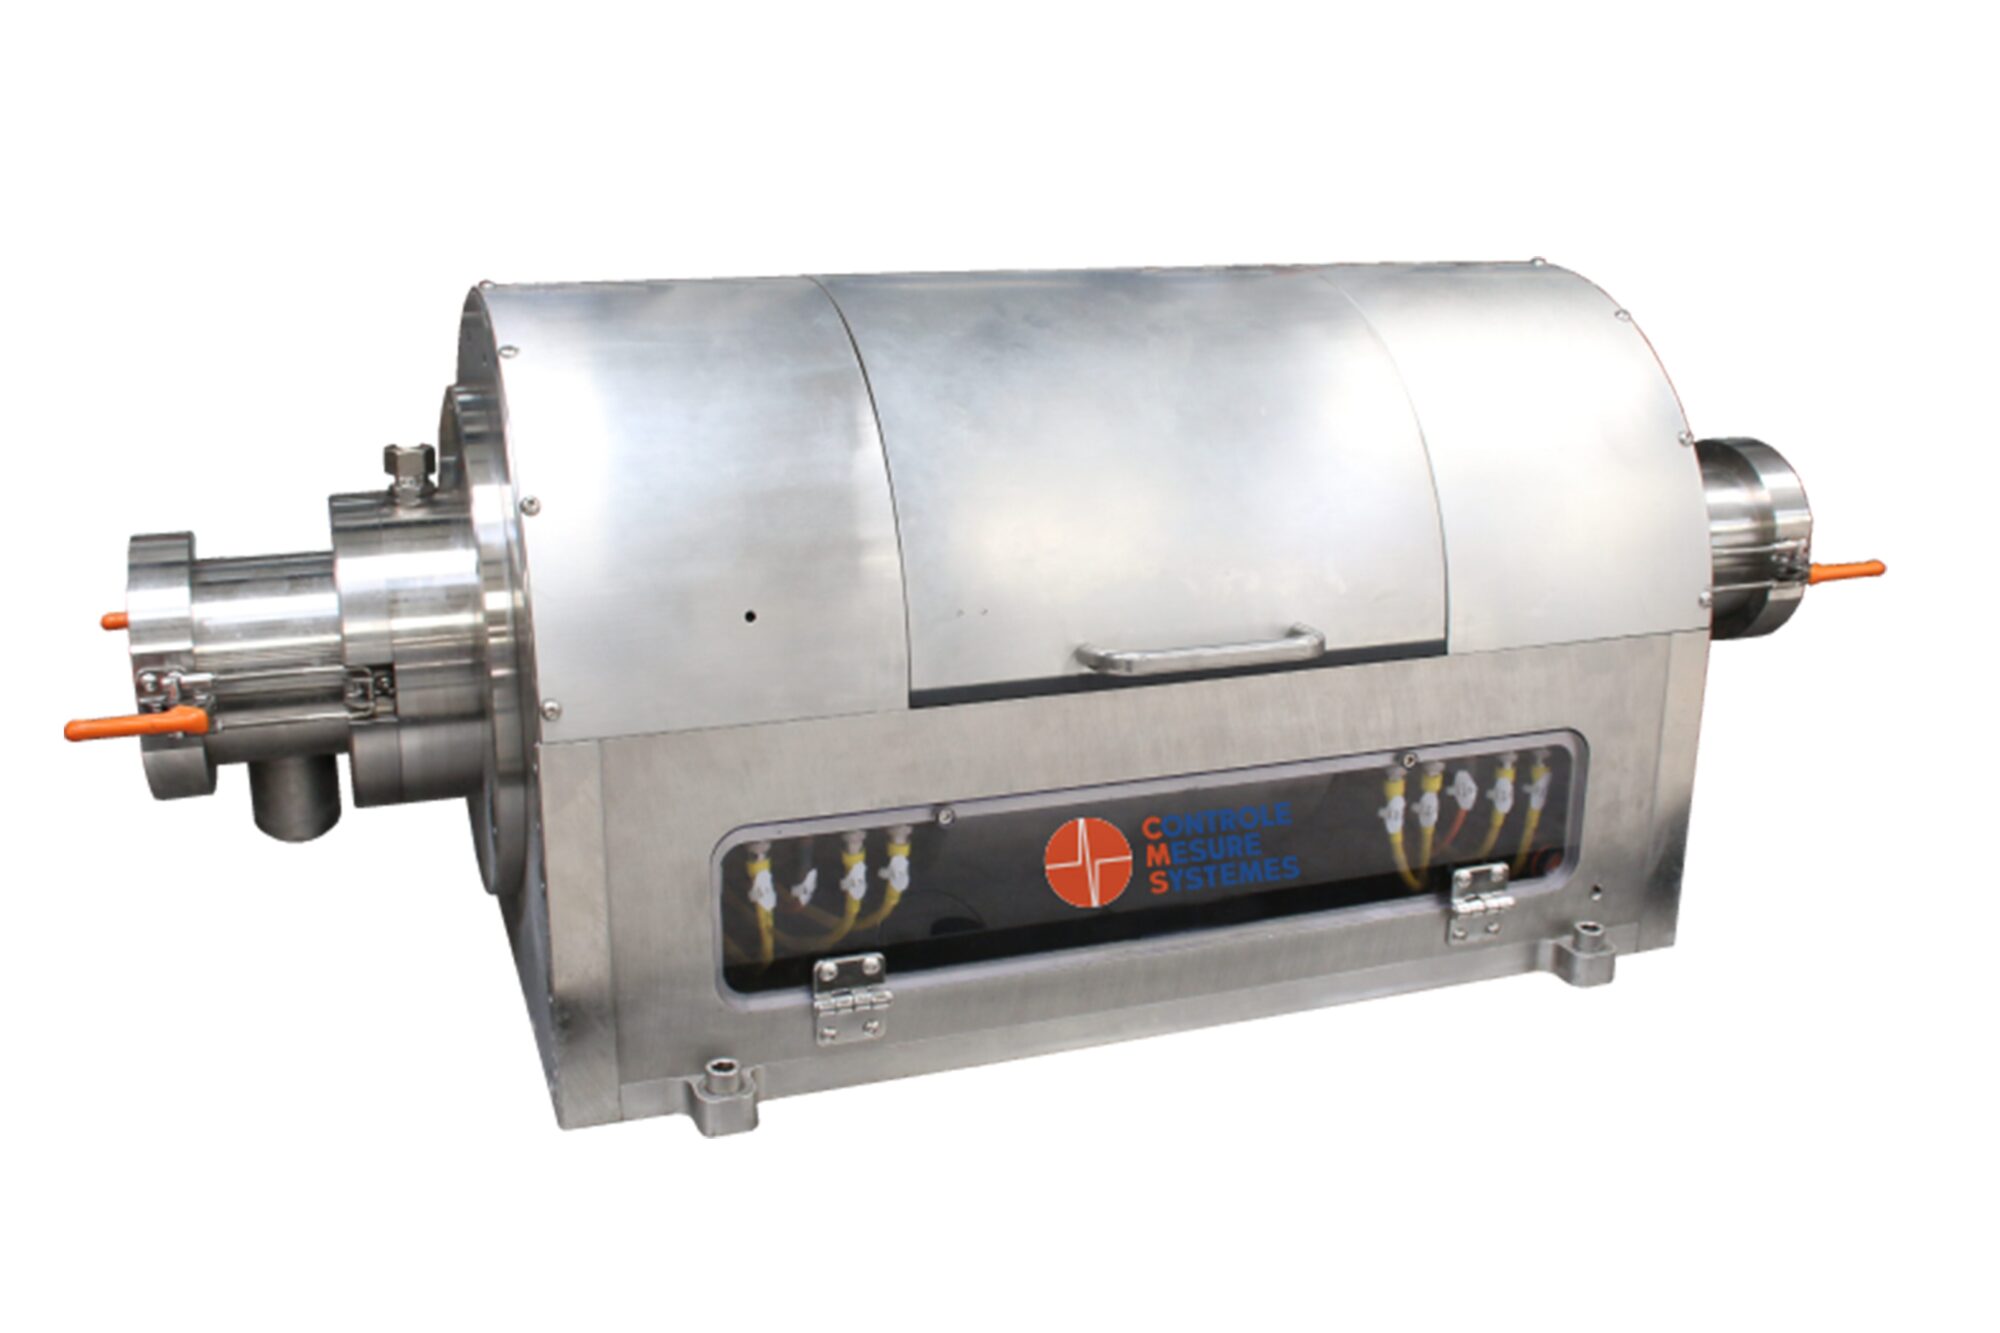
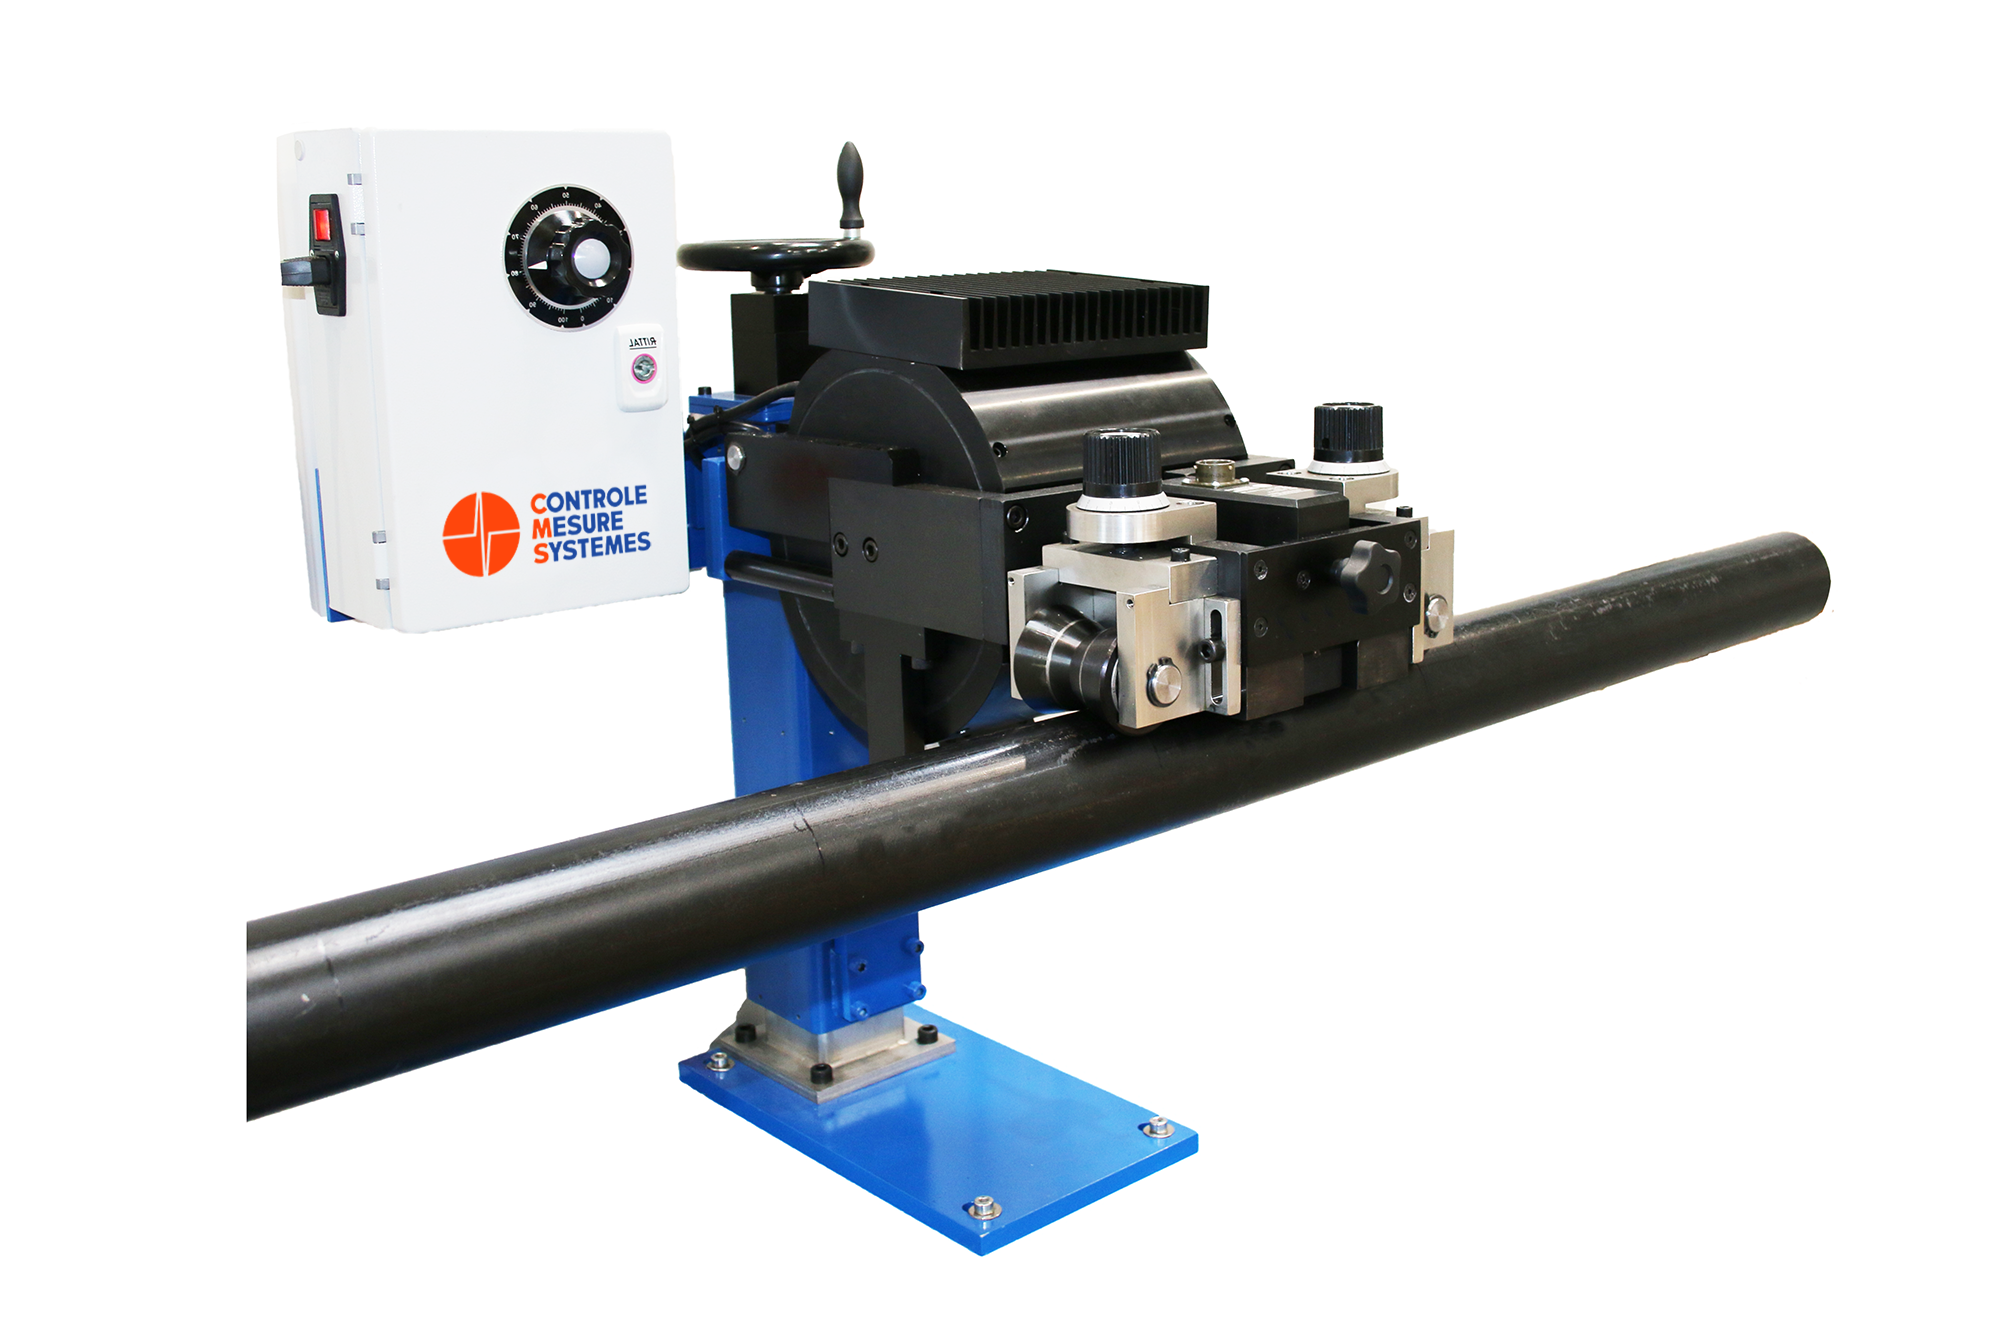
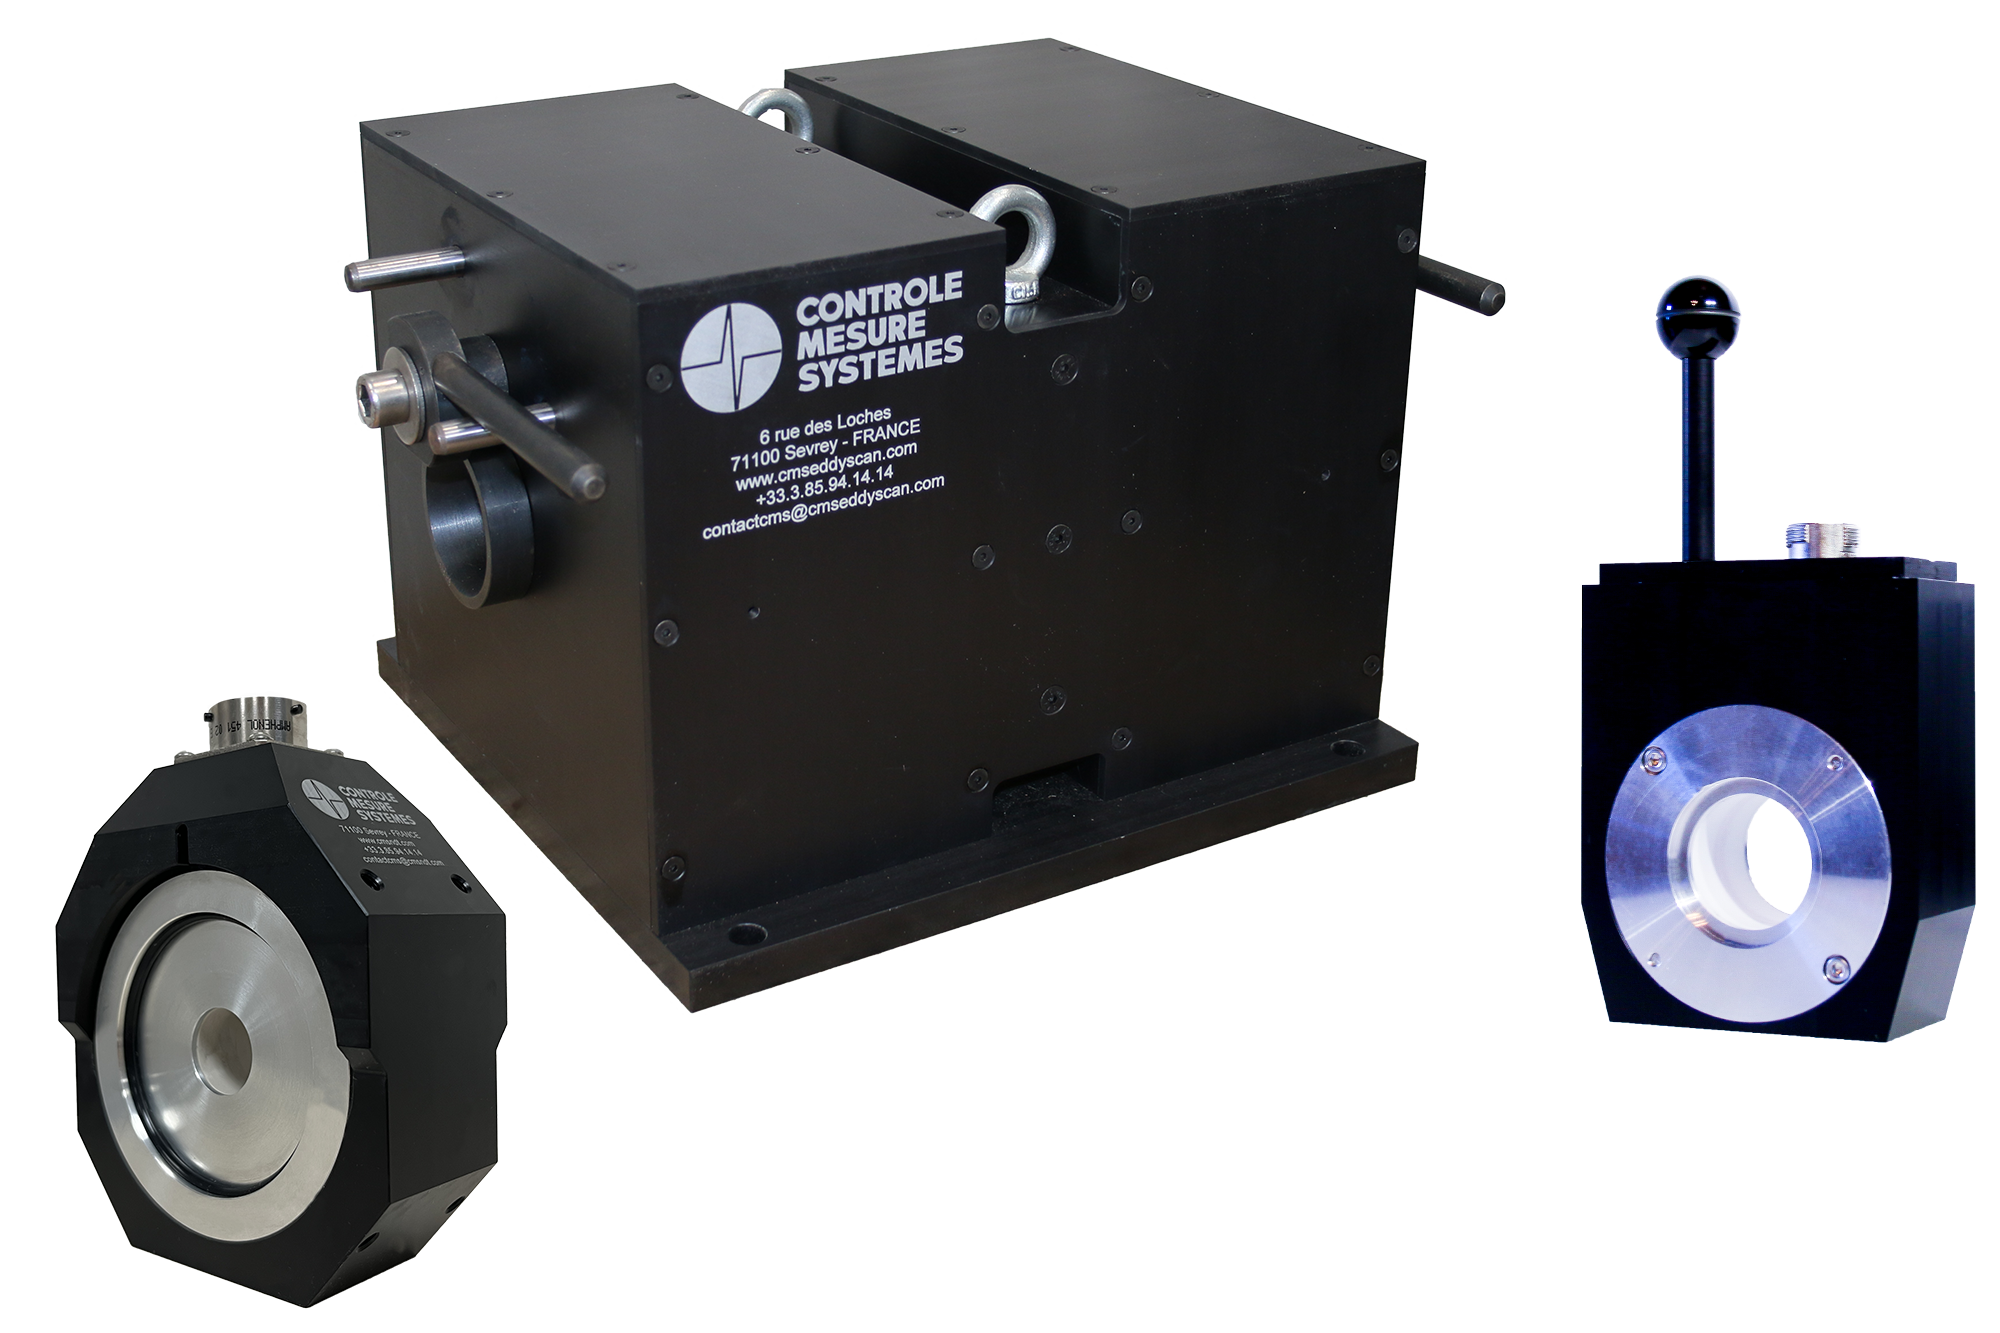
All our Eddy Current and Ultrasonic systems meet the requirements of current European and international standards (ASTM, API, DIN, SEP, BS, ISO, ASME, ASNT…), calibration standards and comply with NF EN ISO 15548-1, NF EN ISO 15548-2, NF EN ISO 15548-3, NF EN ISO 22232-1.
Discover our examples of NDT inspections already carried out on tubes:
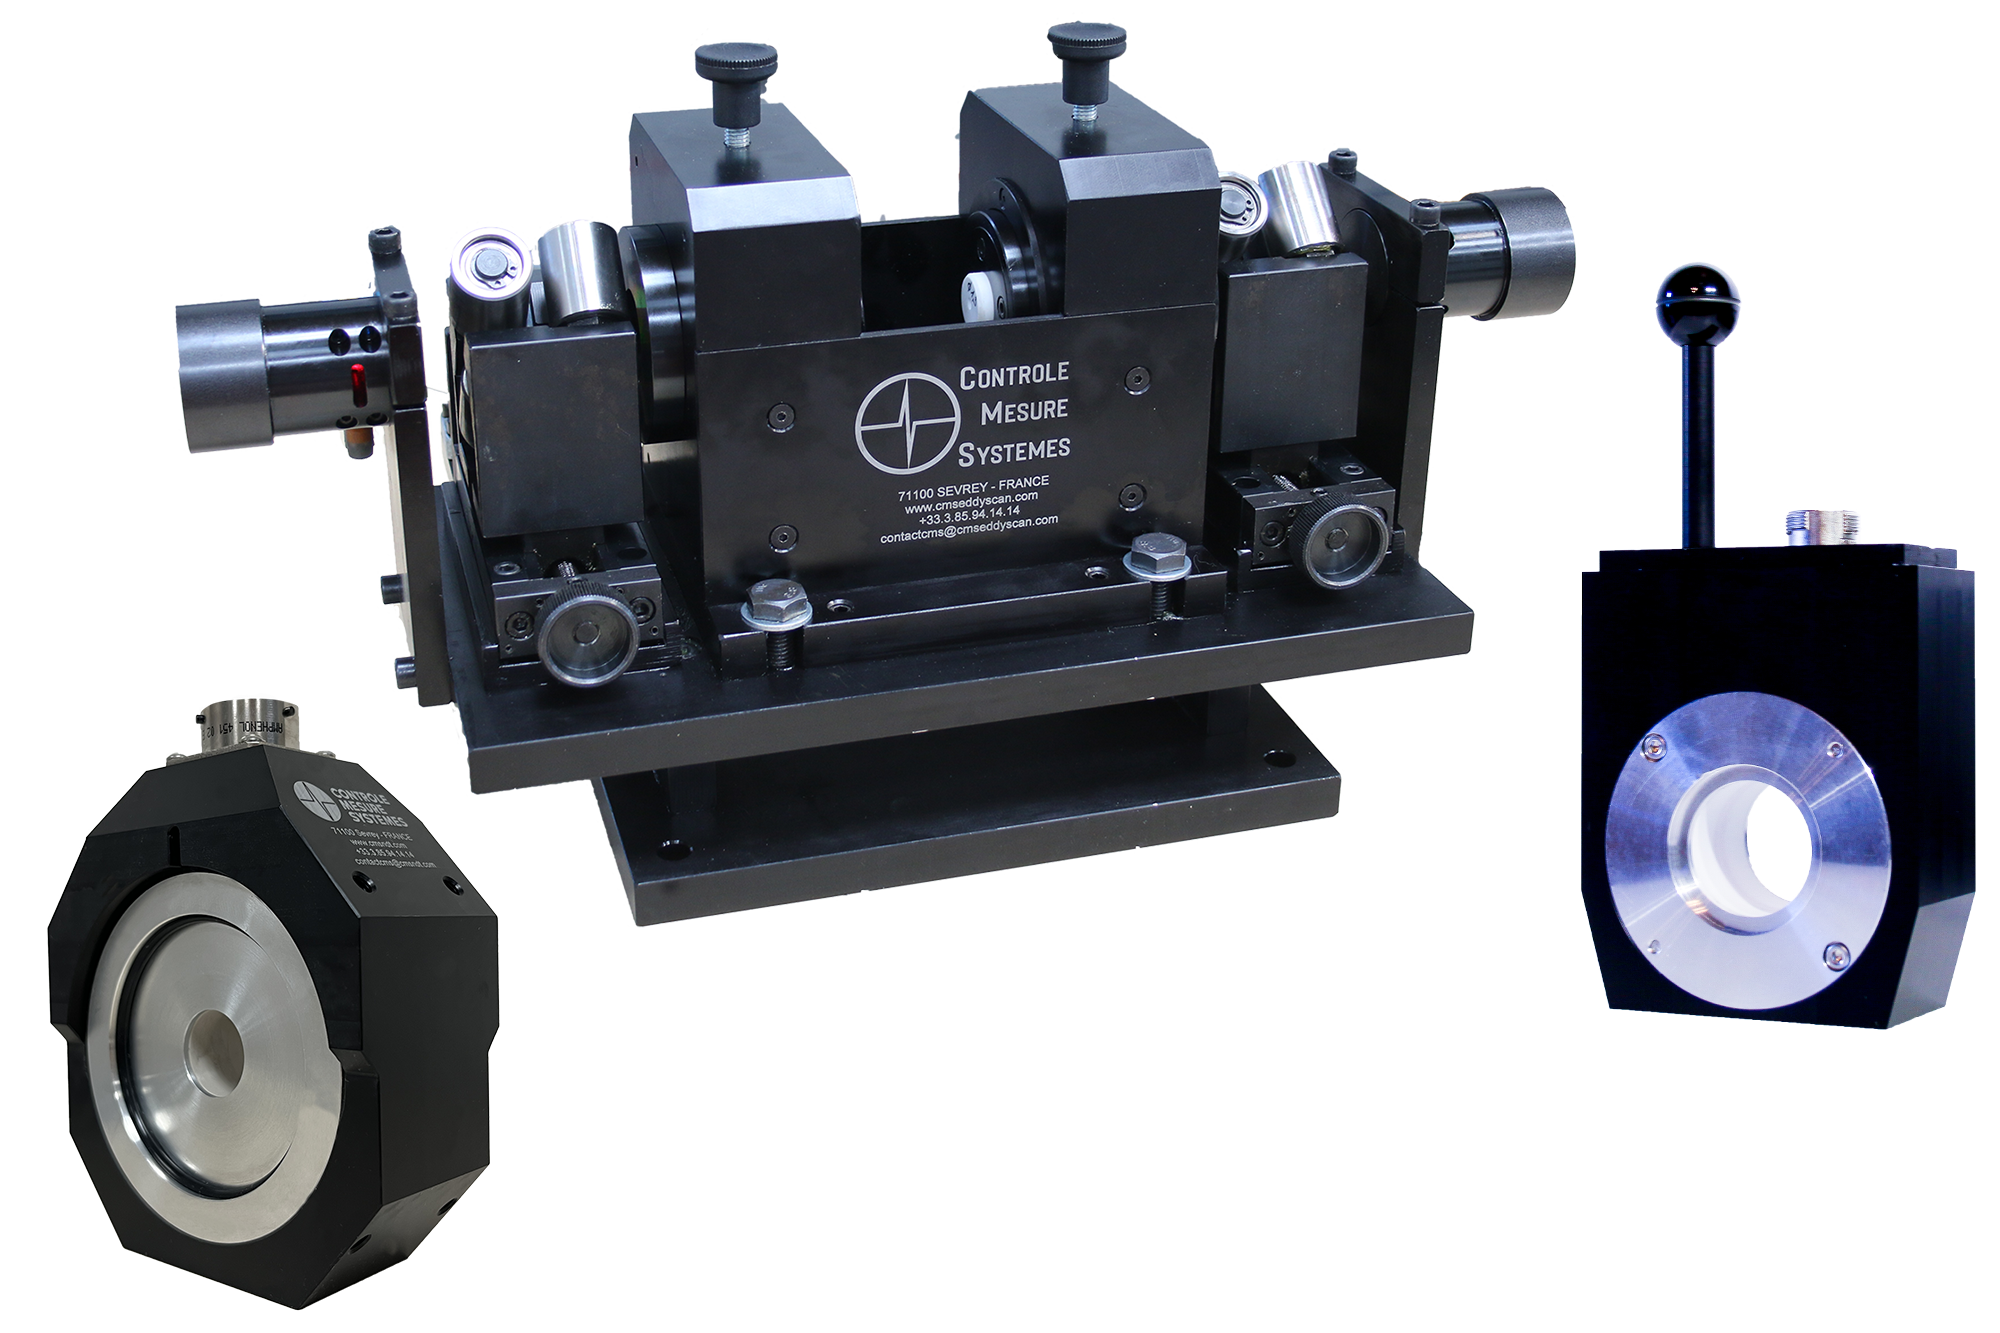
Short and transverse defects detection on non-magnetic products with Eddy Current encircling probes and coil holder
Short and transverse defects detection on magnetic products with Eddy Current Magnetizing unit
Surface/subsurface longitudinal defects detection with Eddy Current rotating head RotoETscan
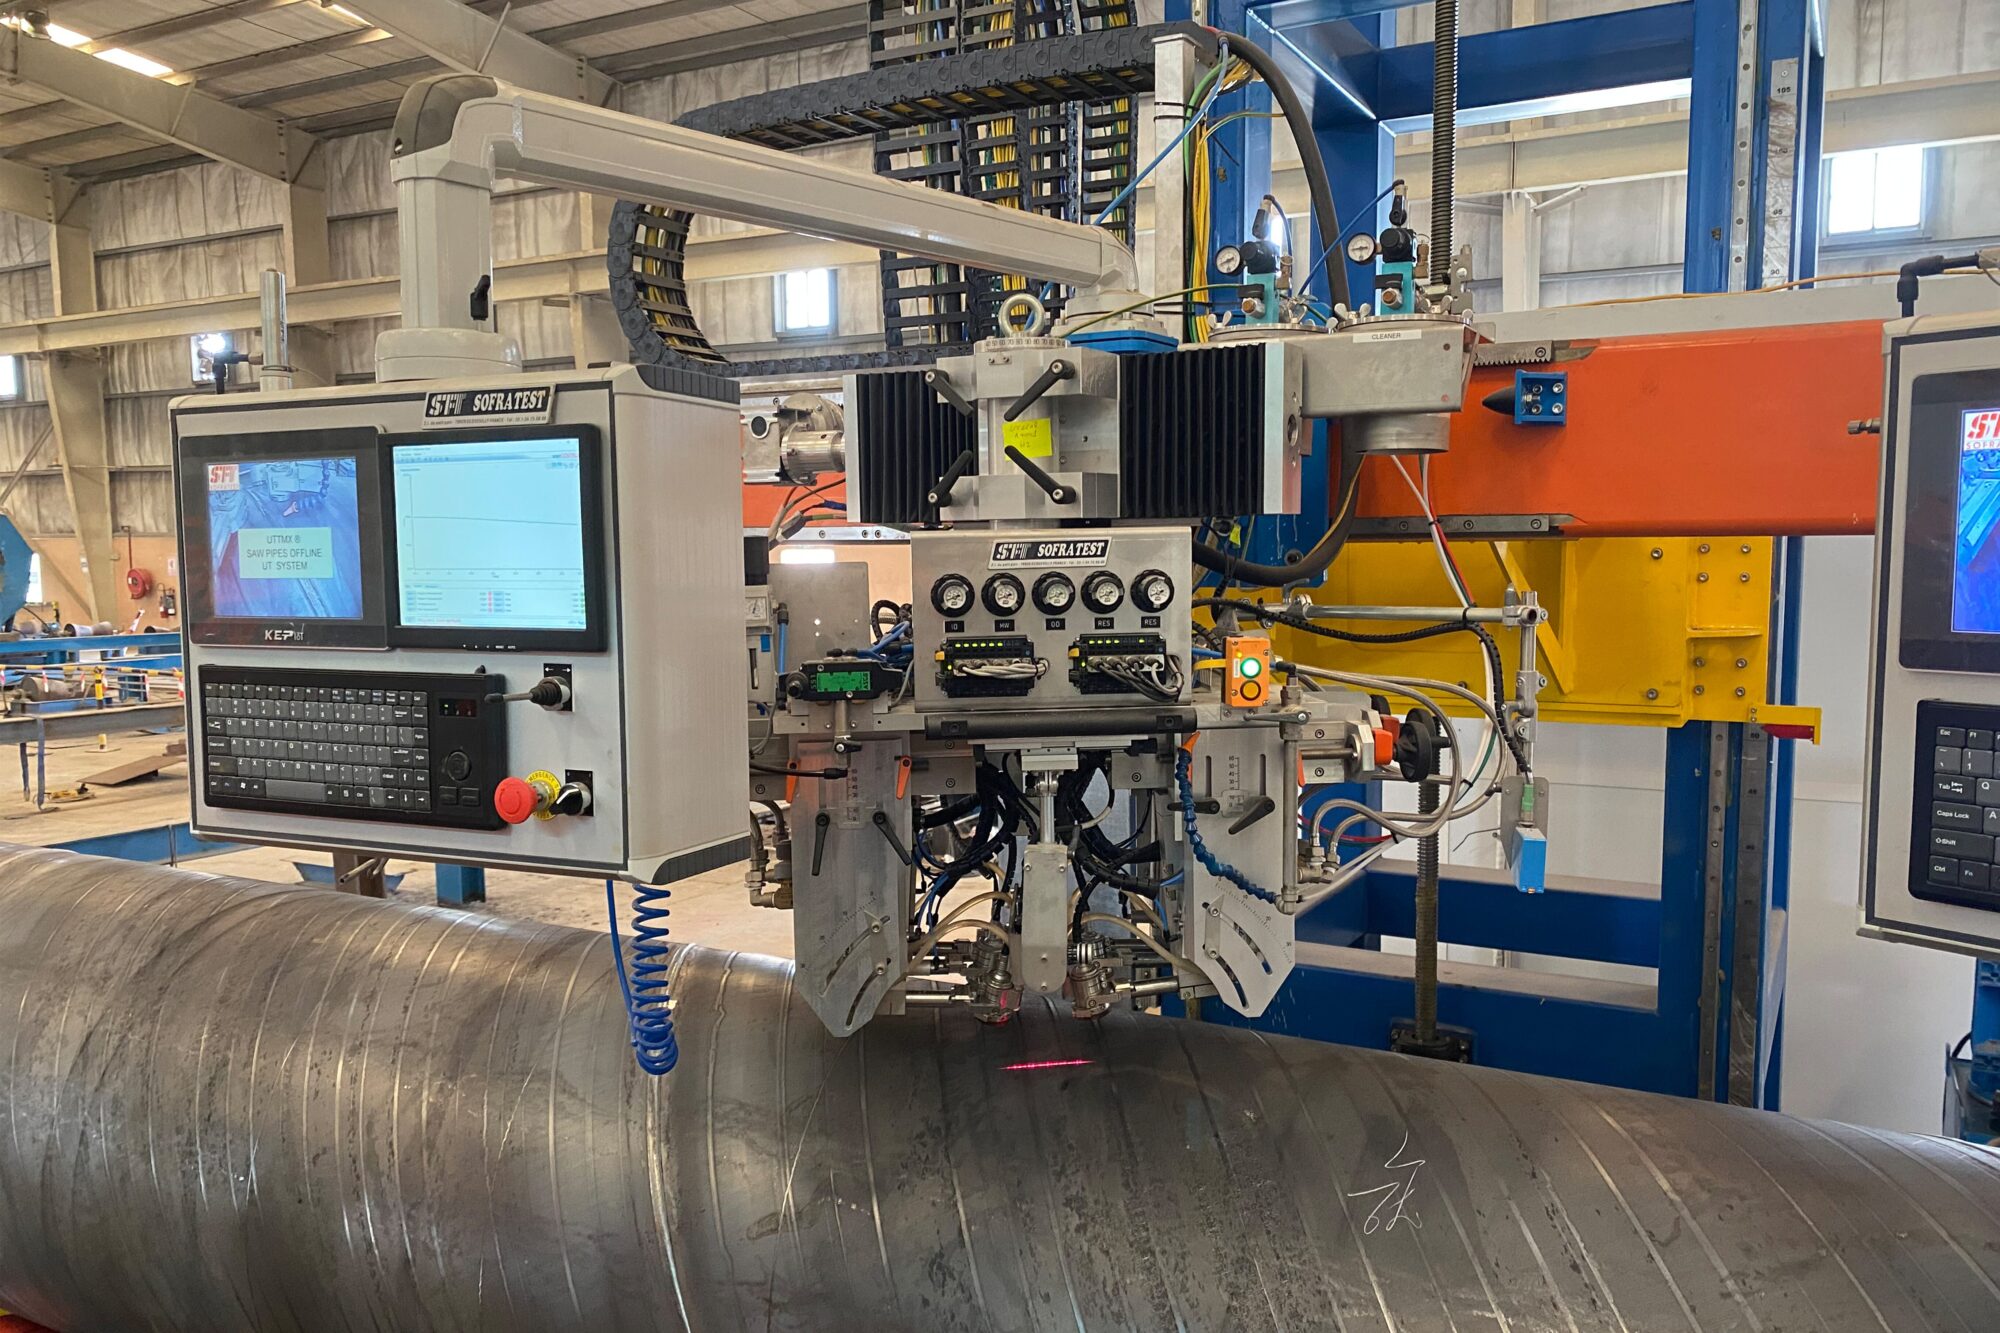
Internal and external defects detection of any orientation on circular products with Ultrasonic rotating head RotoUTscan
Ultrasonic dimensional measurement thanks to Ultrasonic rotating head RotoUTscan
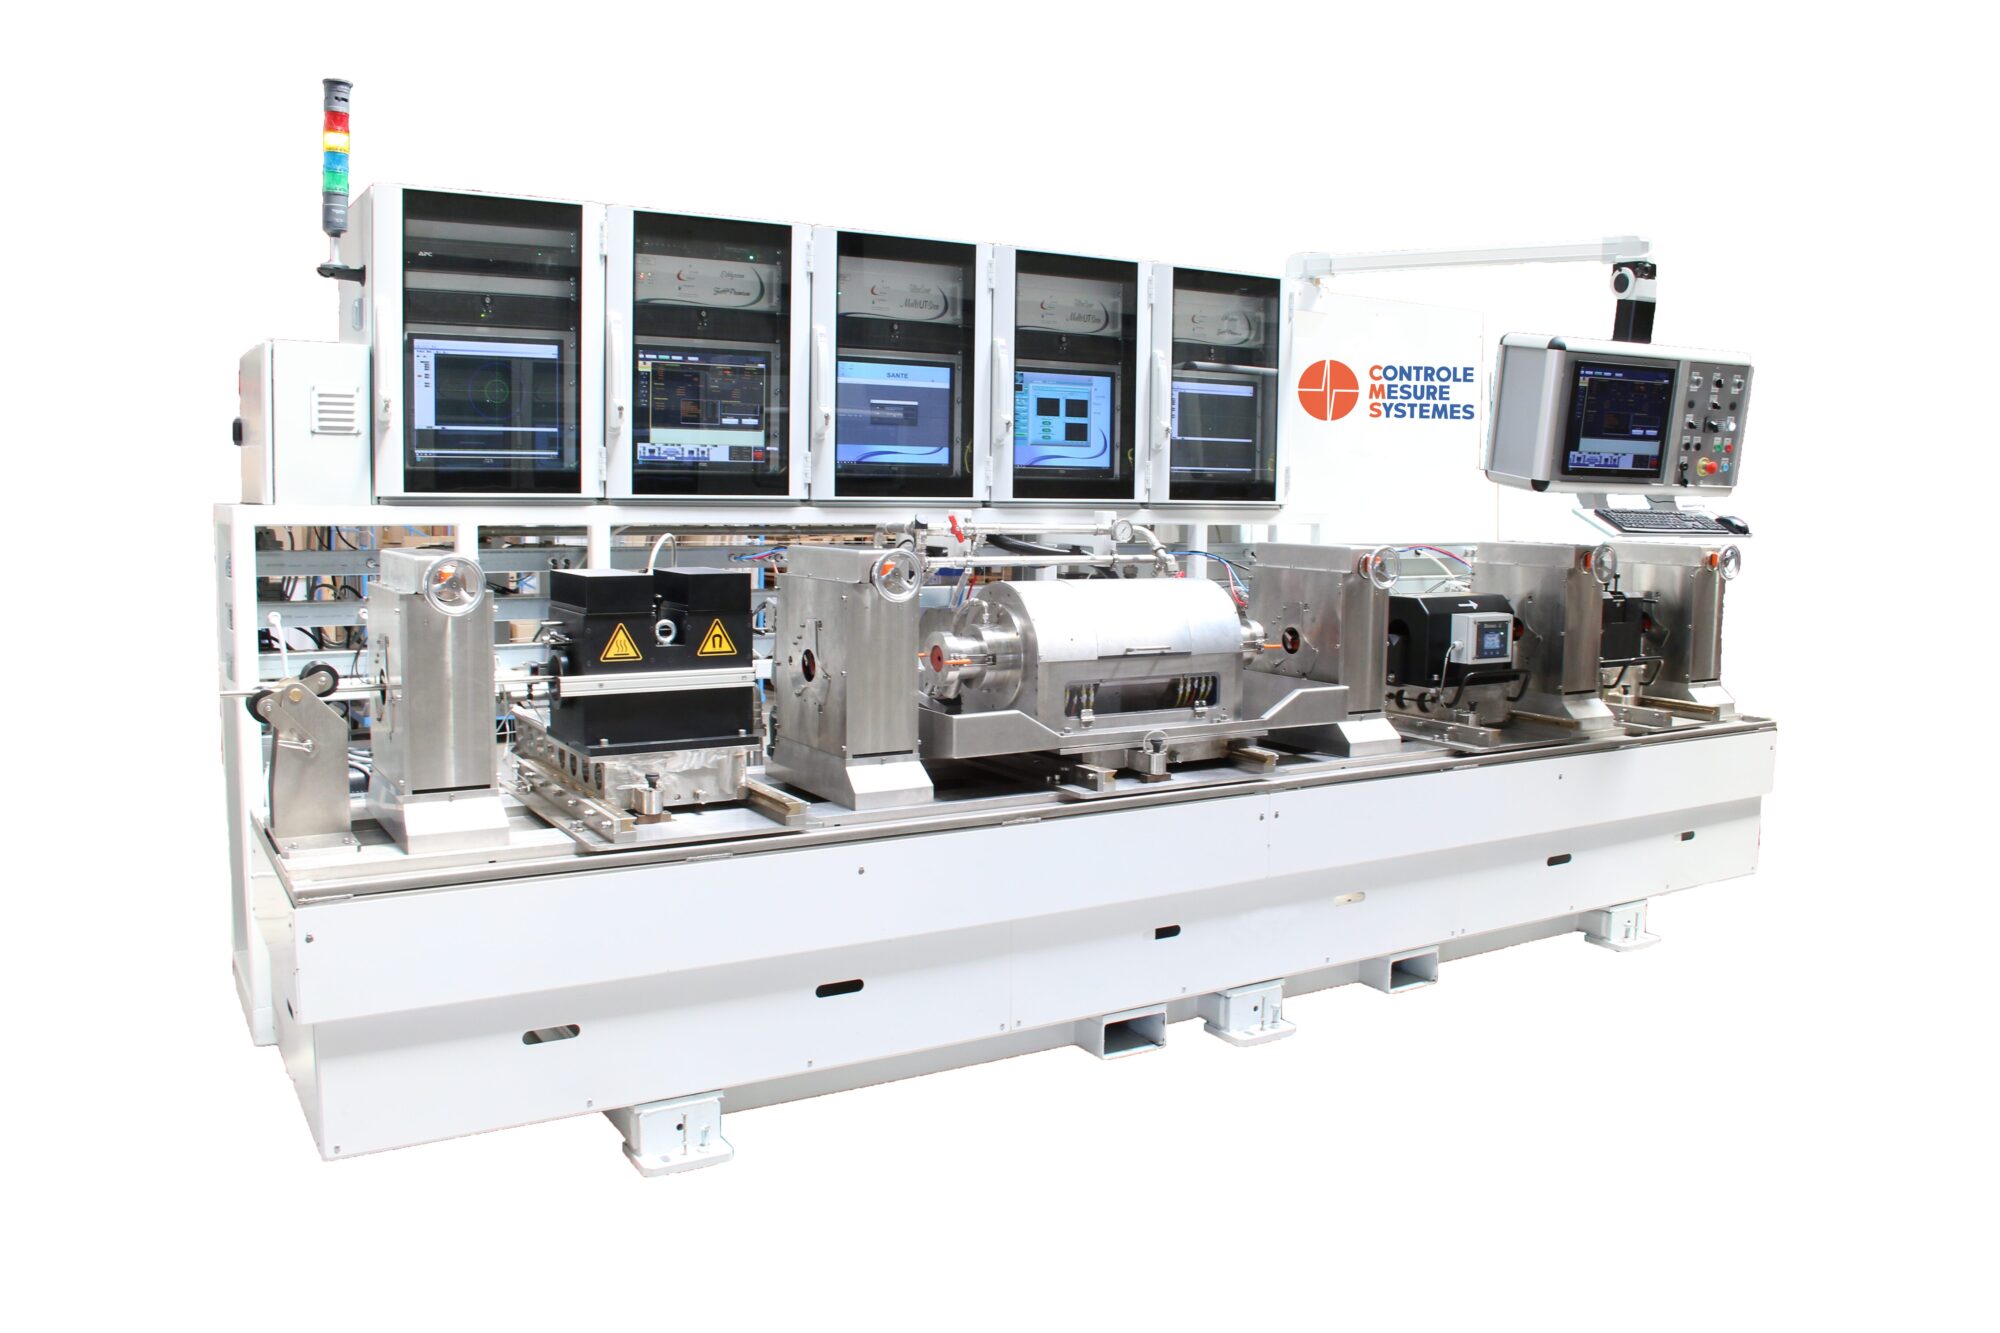
Complete tube inspection for longitudinal, short and transverse defects detection using Eddy Current and Ultrasonic technologies
Detection of punctual and transverse surface/sub-surface defects of continuous magnetic tubes thanks to opening magnetizing unit
Eddy Current inspection of precision tubes (used for hydraulic cylinders, airbags and drive shaft for automotive industry, stents)
Measuring the tube’s internal profilometry
Tube thickness measurement with Ultrasonic
Control of heat exchanger tubes
ERW welding zone inspection by Eddy Current to detect longitudinal discontinuities and short defects
Checking for heat treatment
Dimensional measurement
Material sorting thanks to encircling sorting probes






















Since 1988, CMS designs manufactures and installs Non-Destructive Testing systems for tubes & pipes inspection
Start with an Eddy Current/Ultrasonic product and build a 100% customized solution based on our experience and to meet your specific needs
Production and design of all Eddy Current & Ultrasonic probes, sensors and software on our own premises (mechanical and electronic design office, engineering, etc.)
Highly responsive in providing assistance and information to our customers
A wide range of complementary Eddy Current/Ultrasonic systems/accessories that can be combined for tubes & pipes inspection
Eddy Current and Ultrasonic inspection results are displayed in real time and traceability is ensured by our production software which creates complete inspection reports
Inspection speed optimized to production constraints
INNOVATION: Ability to combine Eddy Current and Ultrasonic inspection methods for 100% product inspection
Contact details Fr
CONTROLE MESURE SYSTEMES
6 rue des Loches
71100 Sevrey – France

Contact details USA
CONTROLE MESURE SYSTEMES INC.
175 Pearl Street
Brooklyn, NY 11201 – USA
This new workspace, costing around 2.2 million euros, will enable CONTROLE MESURE SYSTEMES to increase its production capacity, develop its business by conquering new markets, and thus reinforce its position as leader in the NON-DESTRUCTIVE CONTROLE sector.

FEDER contribution : 590,000 Euros
For further information : https://www.europe-bfc.eu
Ce nouvel espace de travail, représentant un coût d’environ 2.2 millions d’euros, permettra à CONTROLE MESURE SYSTEMES d’accroitre sa capacité de production, de développer son activité par la conquête de nouveaux marchés et ainsi renforcer sa place de leader sur le secteur du CONTROLE NON DESTRUCTIF.

Montant FEDER : 590 000 Euros
Pour en savoir + : https://www.europe-bfc.eu